How to Sew a Cuddly Cat Pillow By Rachel M Brown
You Will Need:
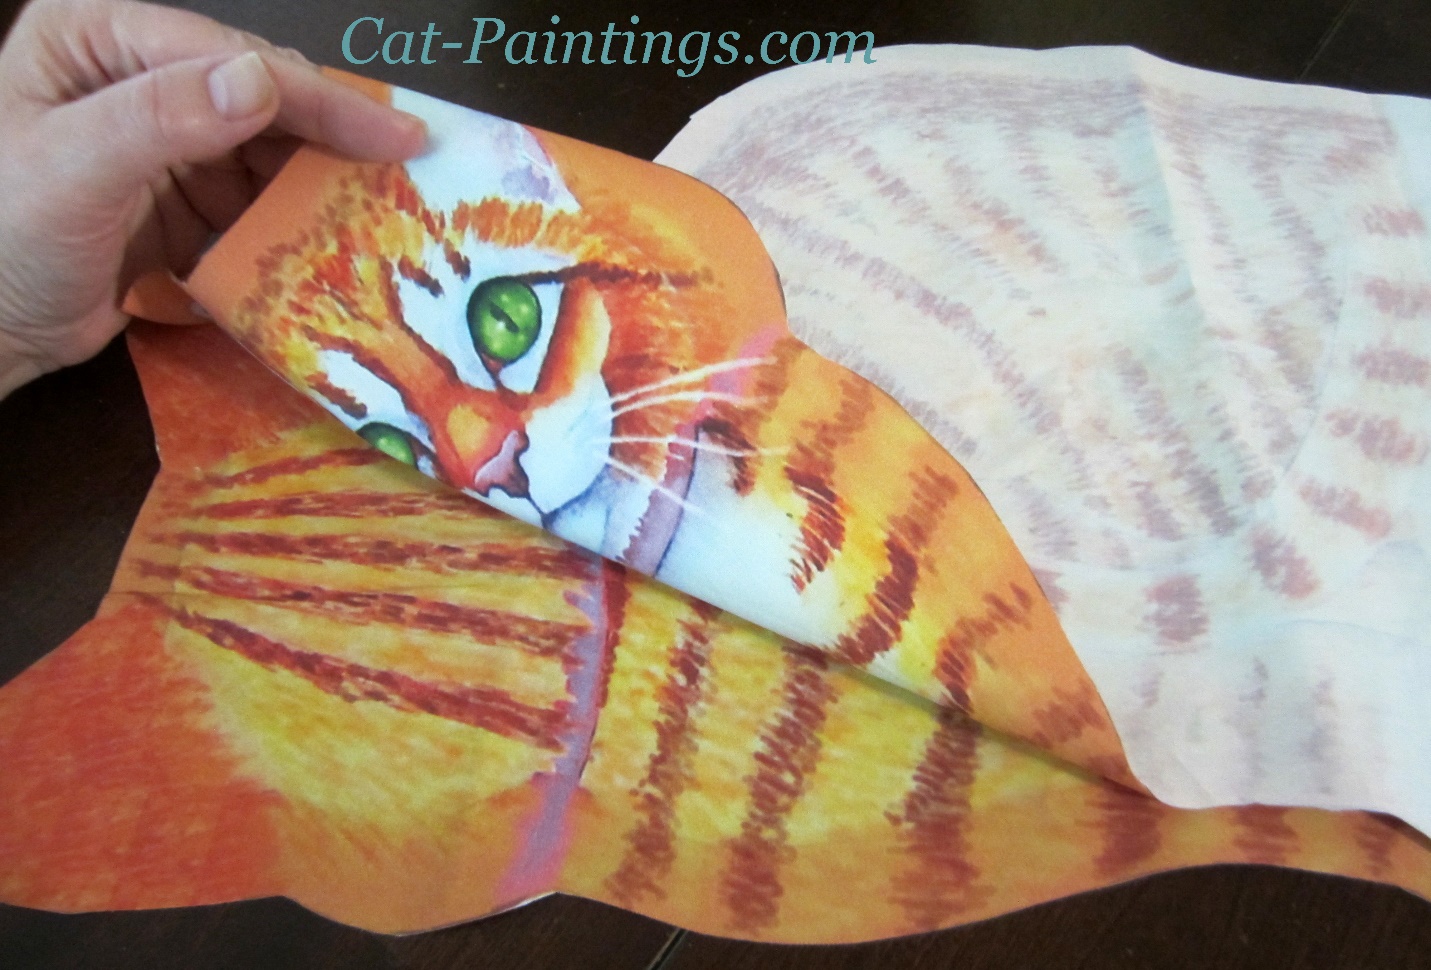
- printed cat fabric Printed cat fabric
- a dowel or wooden spoon
- polyfil stuffing (around a pound, but how much depends on how firm you want your pillow to be)
- scissors
- needle and thread
- preferably, the benefit of a sewing machine
- pinking shears are helpful, but optional.
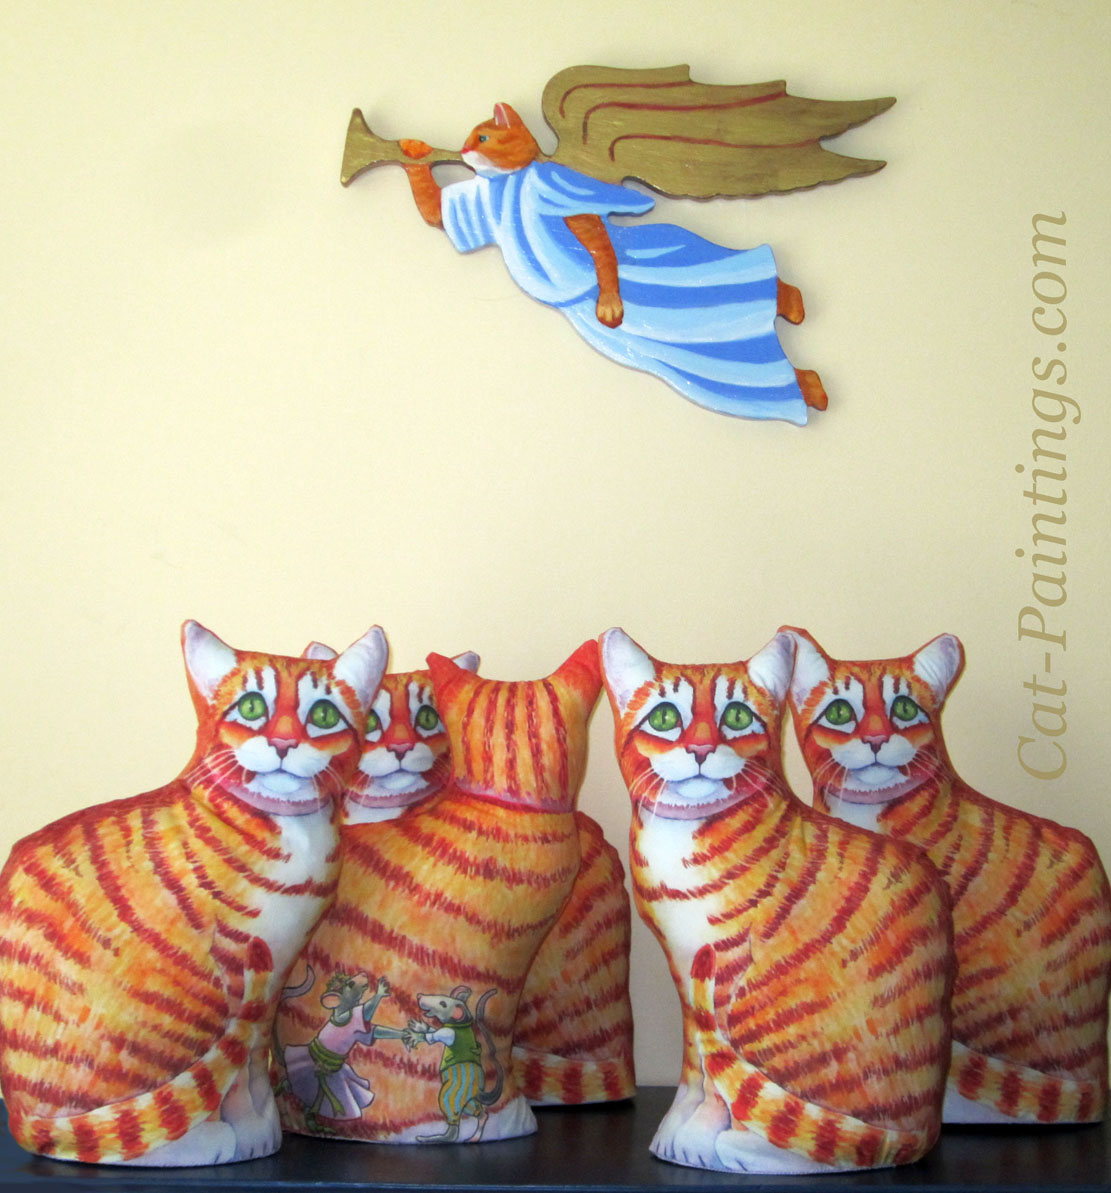
See all of my cat pillow designs
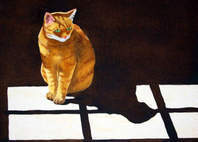
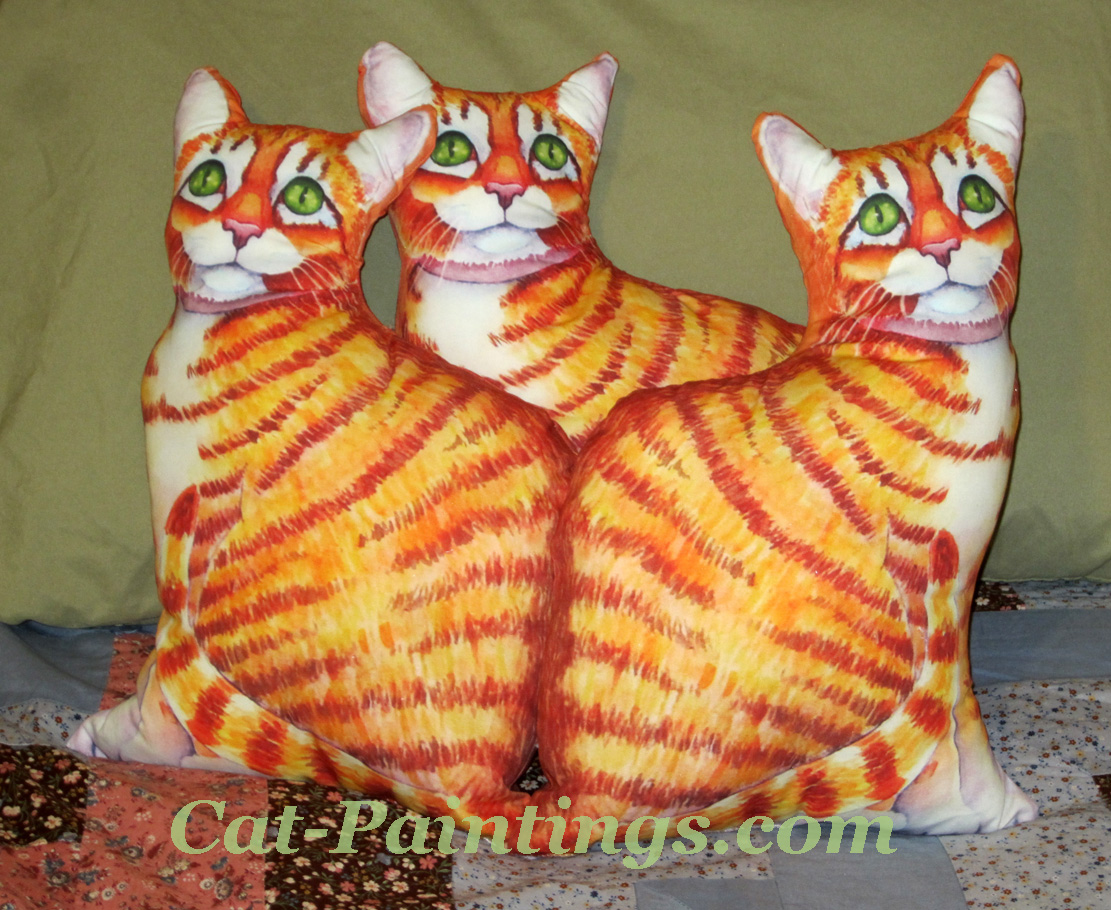
The design shown in this tutorial is the Orange Tabby with Dancing Mice, but the same directions work for any of my cat pillows.
These cats can be sewn into either a pillow for your bed or sofa, or as a decoration that can stand alone on its flat bottom piece.
For the cat pillow for your bed or sofa, you just need the front and back pieces of the cat pattern. You don't need to cut out the oval bottom piece that is used for the stand alone cat.
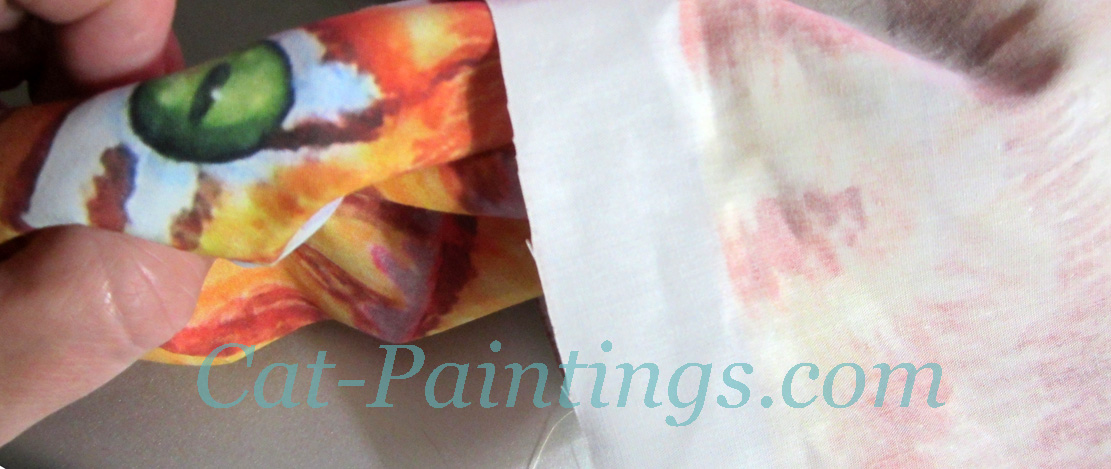
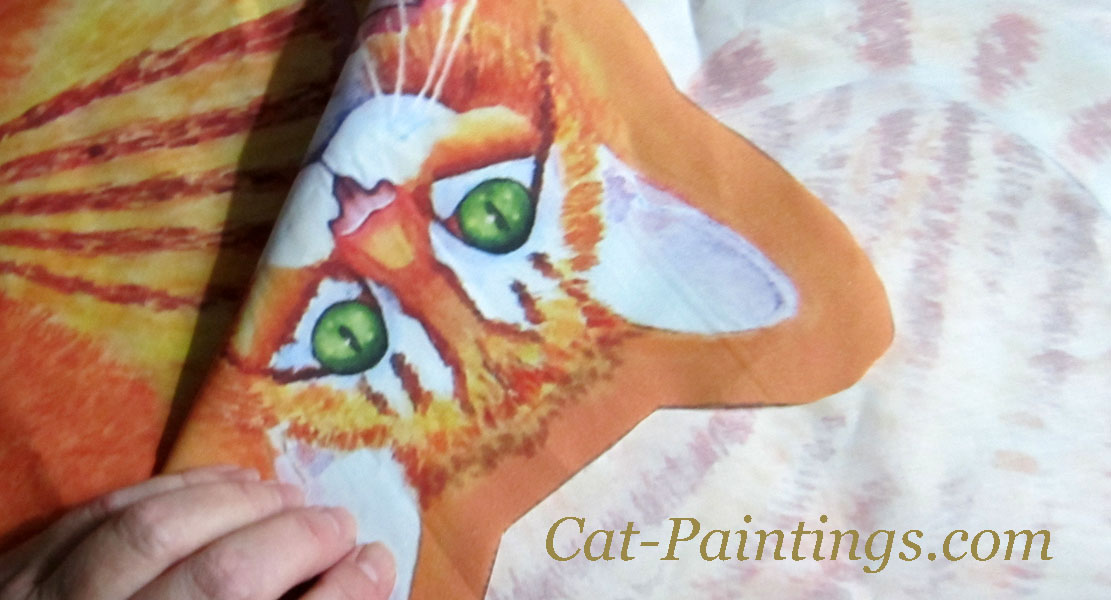
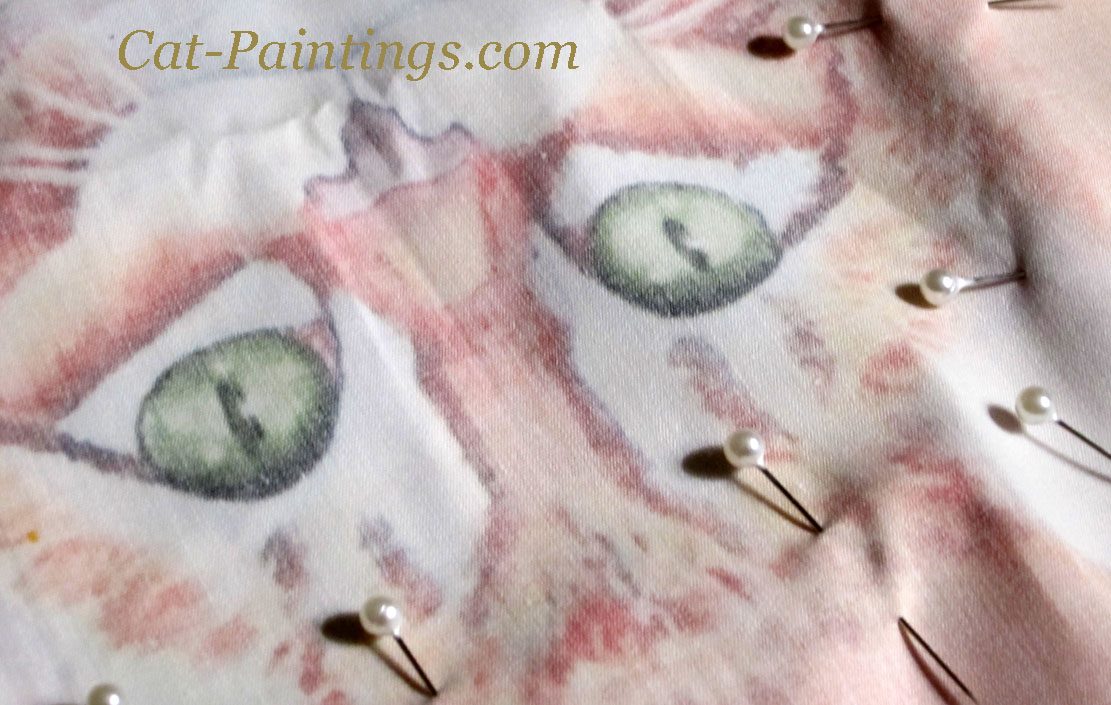
Line up the front and back sections of the cat so that the printed sides are facing each other.
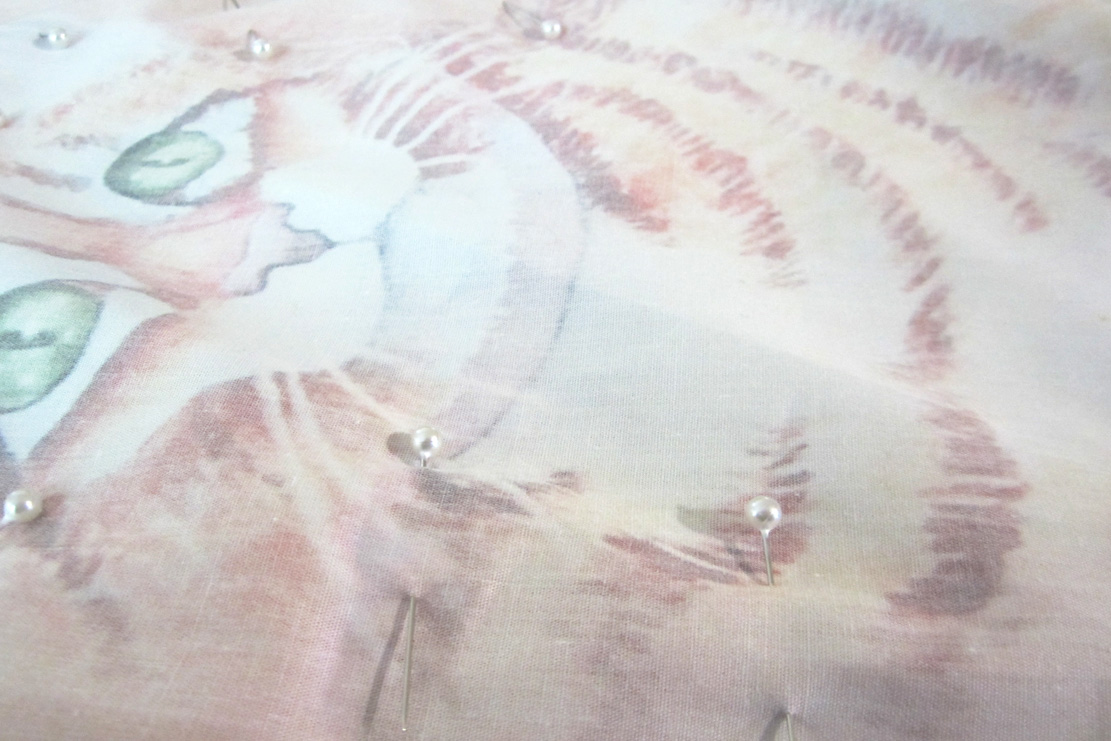 Pin the pieces together so that the edges meet.
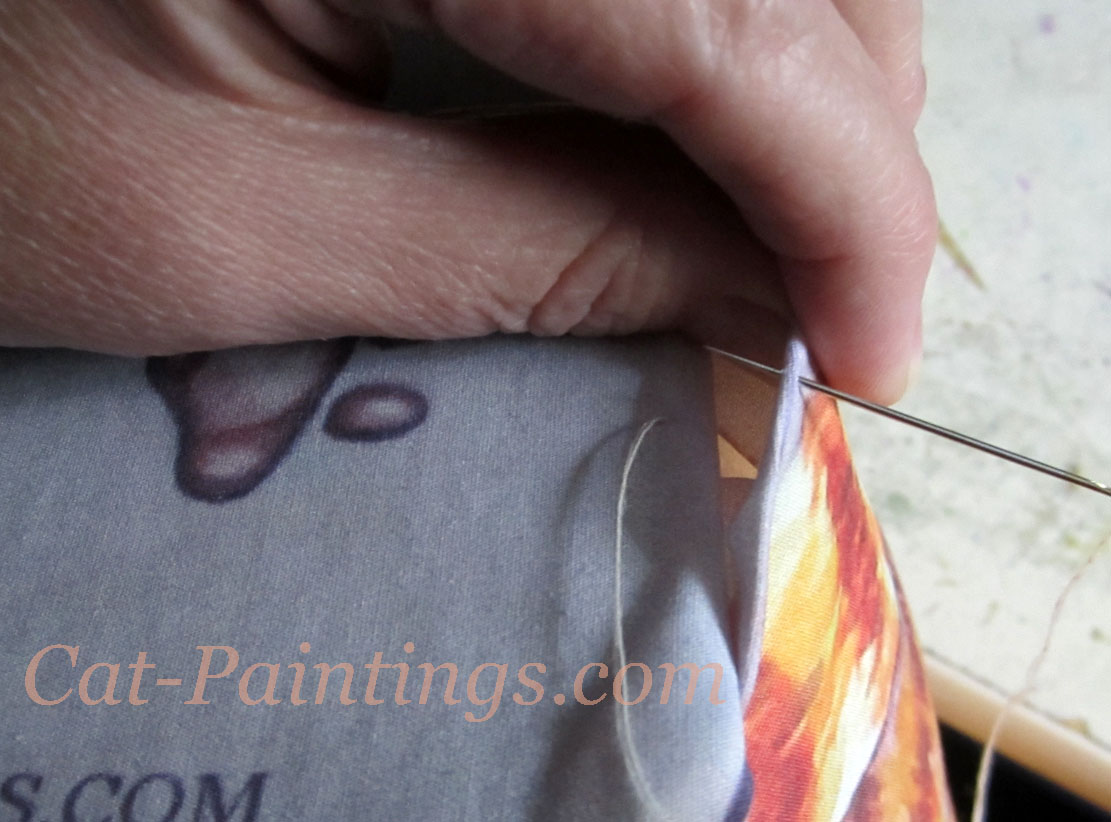
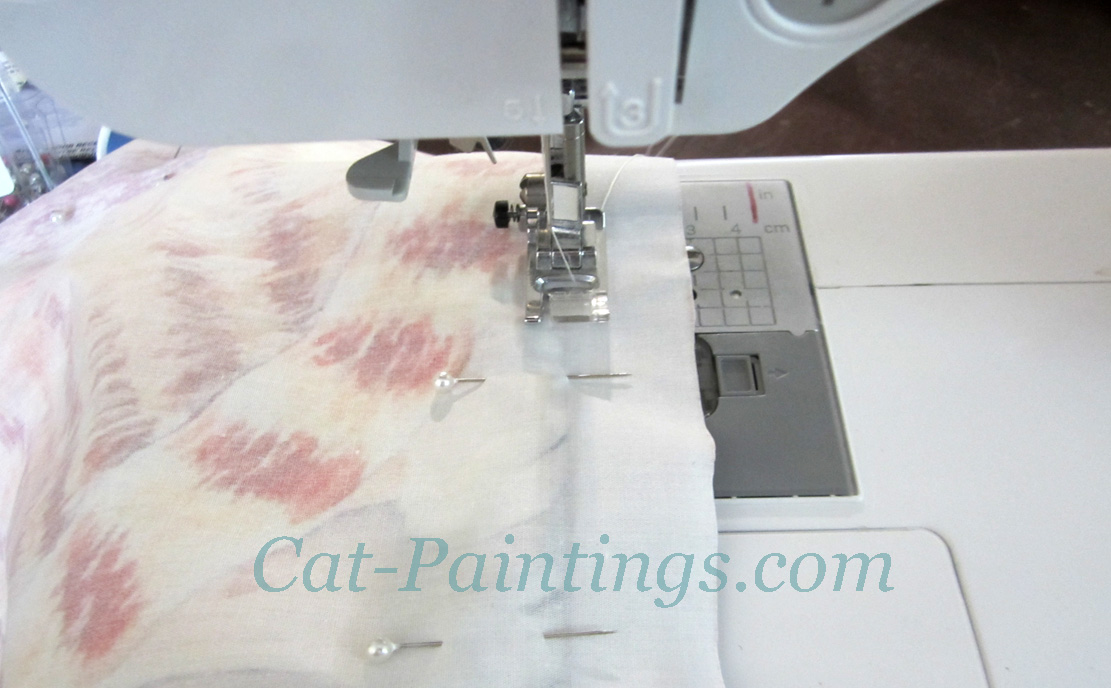 Start sewing half-way across the bottom edge so that you are sewing towards the front of the cat
(You will leave the other half of the bottom edge unsewn so that you can stuff the cat). Even though
you are sewing the unprinted side of the fabric, you'll still be able to see the design. Follow the
line along the bottom edge of the cat's paws, which is a 1 inch seam allowance.
Start sewing half-way across the bottom edge so that you are sewing towards the front of the cat
(You will leave the other half of the bottom edge unsewn so that you can stuff the cat). Even though
you are sewing the unprinted side of the fabric, you'll still be able to see the design. Follow the
line along the bottom edge of the cat's paws, which is a 1 inch seam allowance.
When you reach the end of the cat's front paws, continue sewing up the front of the cat with a 3/4" seam allowance.
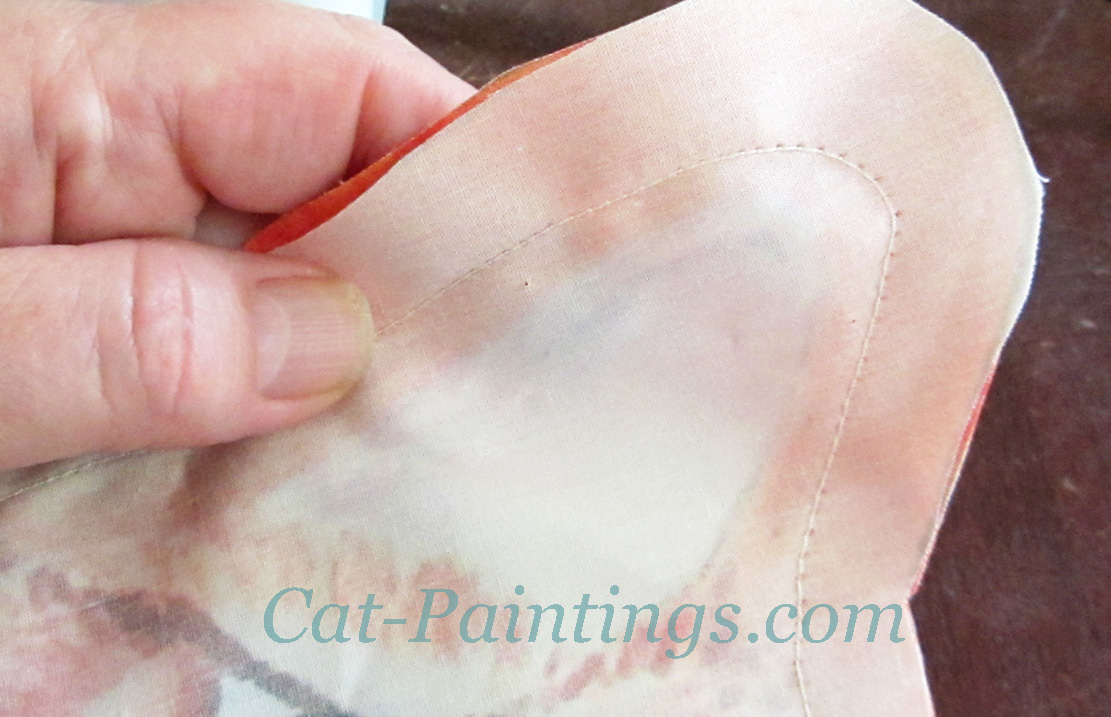
Sew around the ears slowly, leaving an orange border around the white of the ear.
Continue sewing around the back of the cat and stop at the bottom edge of the fabric. Don't sew all the way around: leave the half of the bottom edge unsewn so that you can stuff the pillow.
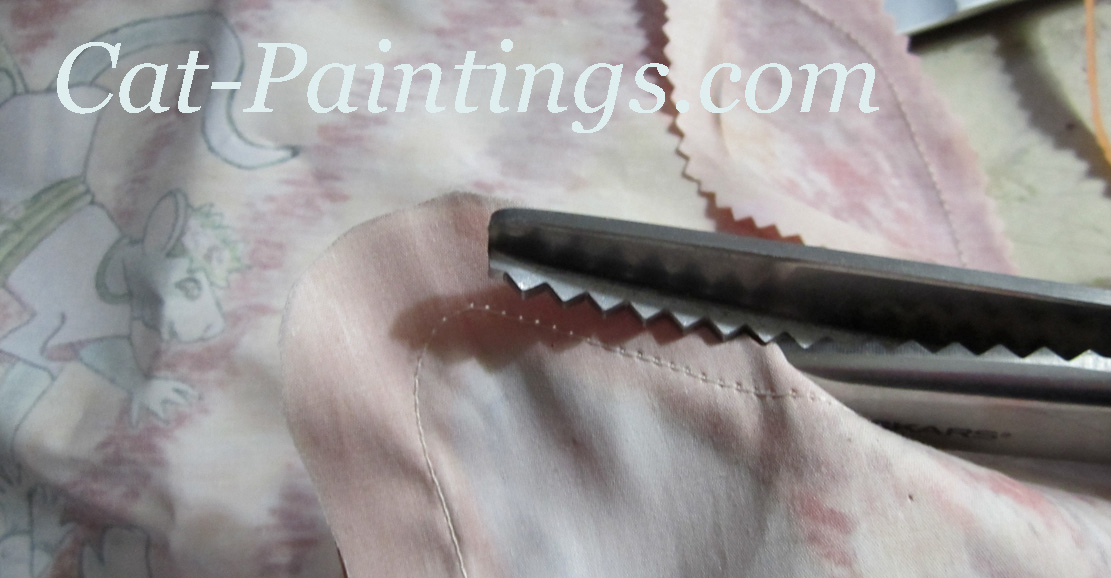 Trim the seam allowance with a pair of pinking shears.
 Pull the cat inside out through the hole at the bottom that you left unsewn.
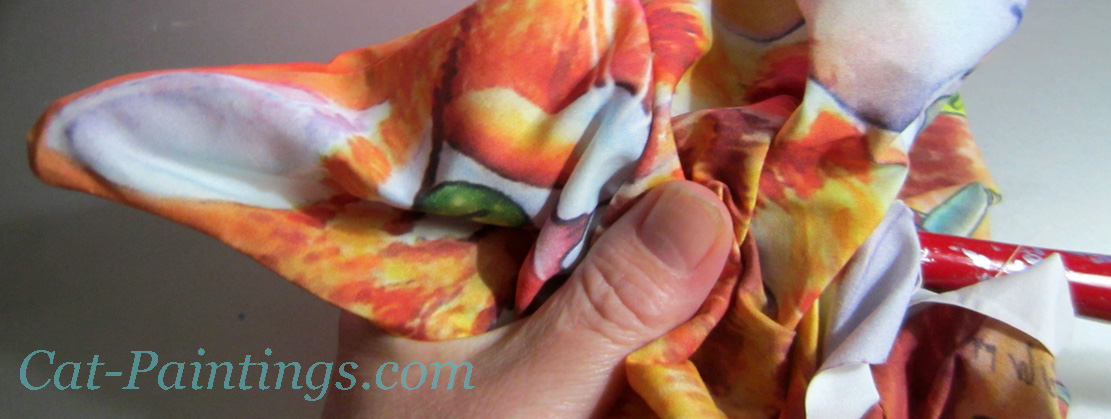 With a dowel or the handle of a wooden spoon (I used the handle of a paint brush) push
out the ears and edges of the cat before you start stuffing the pillow.
With a dowel or the handle of a wooden spoon (I used the handle of a paint brush) push
out the ears and edges of the cat before you start stuffing the pillow.
Stuff the ears first, packing the filling into place with you choice of stick. Then stuff the head and neck, then the arch of the cat's back. Don't forget to push some stuffing into the front paw area.
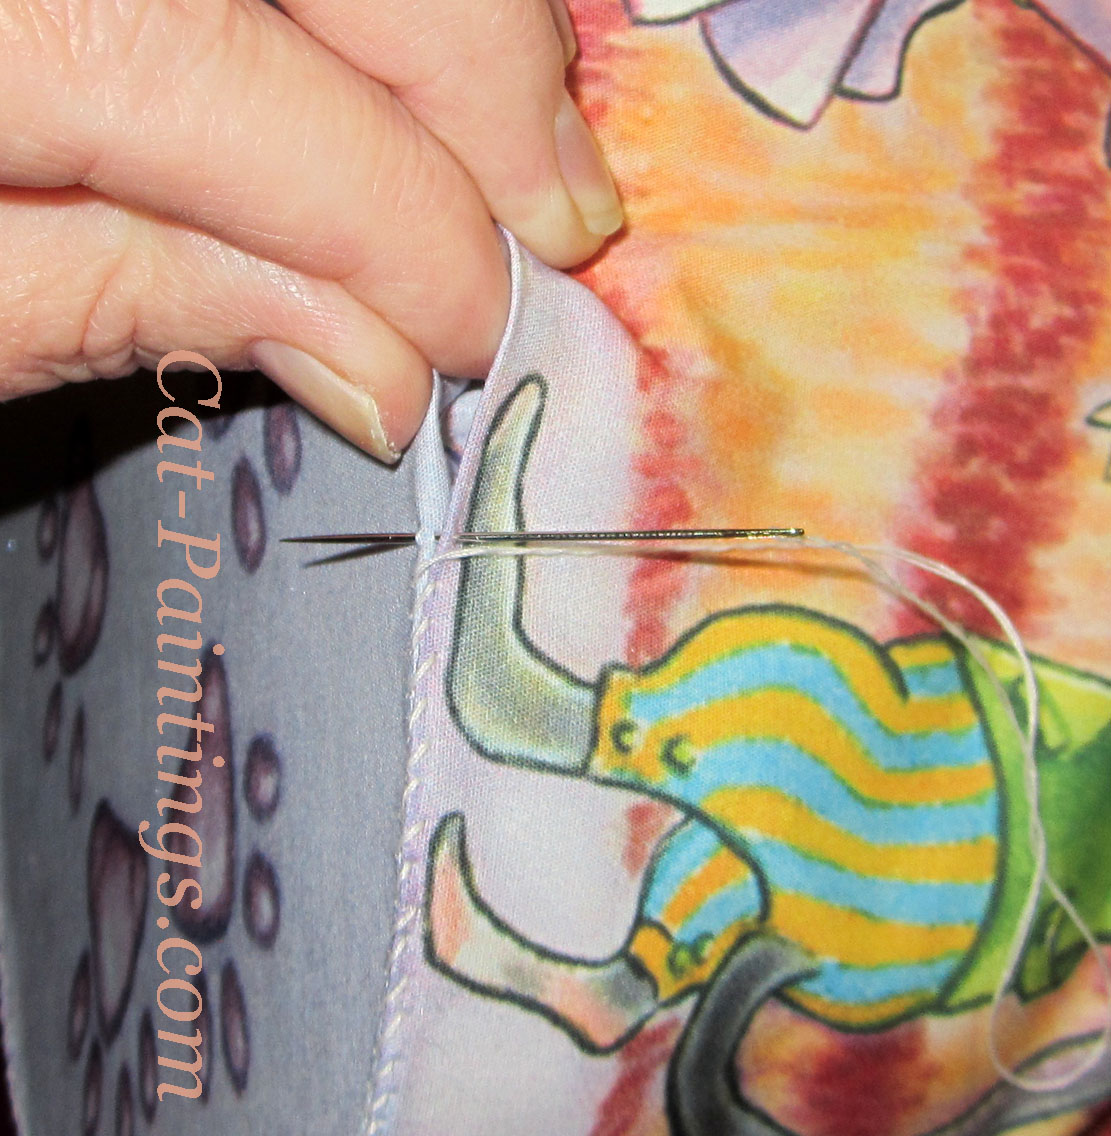
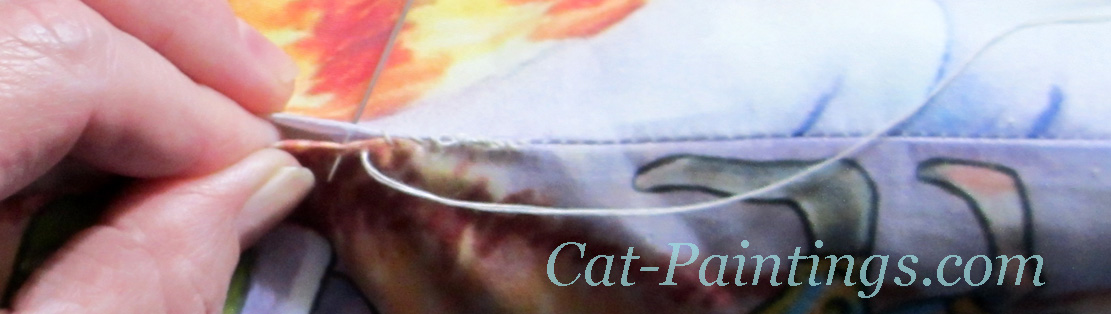 With the seam allowance folded in towards the stuffing, finish off the bottom edge with a
thread and needle. You can keep adding stuffing as needed as you sew up the opening.
With the seam allowance folded in towards the stuffing, finish off the bottom edge with a
thread and needle. You can keep adding stuffing as needed as you sew up the opening.
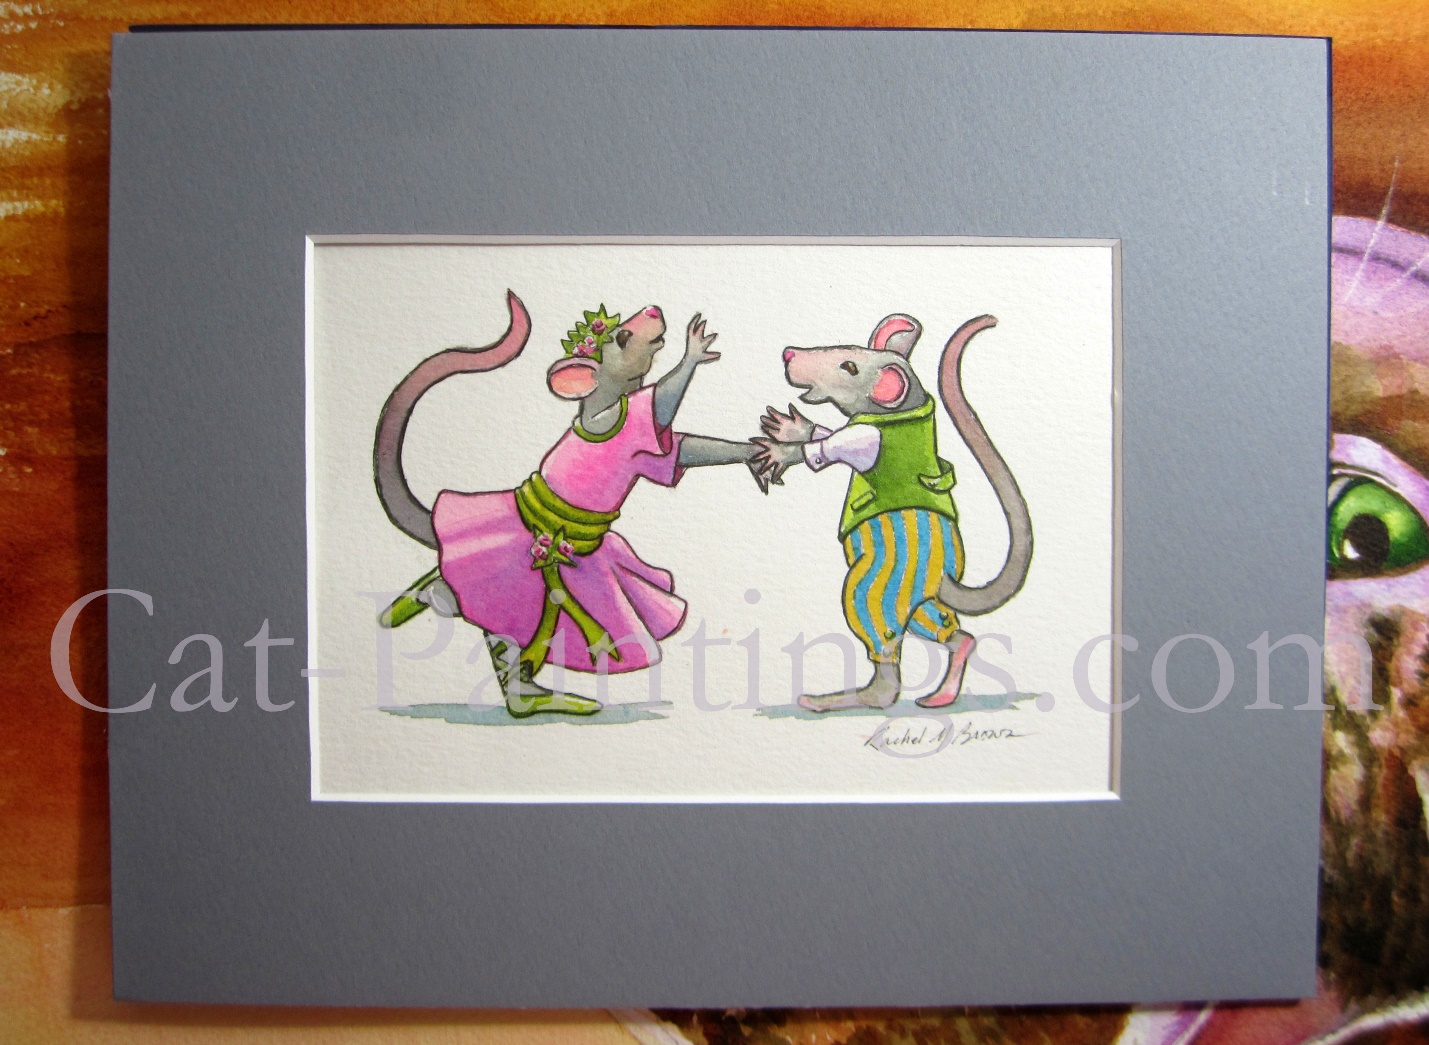 Dancing mice artwork that appears on the back of the tabby cat.
How to Sew a Stand Alone Cat Pillow
You Will Need:
- Printed cat fabric
- a dowel or wooden spoon
- polyfil stuffing (around a pound, but how much depends on how firm you want your pillow to be)
- scissors
- needle and thread
- glue such as Elmer's
- sewing machine (optional, you can hand sew the pilow but it will take a little longer)
- pinking shears are helpful, but optional
- clean play sand, optional, if you want to weight the cat
- cardboard, but preferably not corrugated cardboard.
What do I mean by corrugated cardboard? Mailing boxes and cartons are usually made with corrugated cardboard,
which is two thin layers of paper sandwiching a pleated layer. When corrugated cardboard gets wet—such as with
glue—or ages, it warps. What works best for these stand alone cats is cardboard that is a single, thick pressed
paper, such as chipboard, paperboard, matt board or binders boards (which are used for binding hardcover books).
For my cats, I used the chipboard on the back of notepads which I saved. In a lurch, you could glue a few layers
of cereal boxes together, weight them, let them dry completely, then cut to fit.

See all of my cat pillow designs
The design shown in this tutorial is the Orange Tabby with Dancing Mice, but the same basic directions work for any of my cat pillows.
Reading the preceding directions for the regular pillow will be very helpful as they are very similar for the stand alone version. Cut out all three pieces of the cat, pin the front and back of the cat together...
...However, for the stand alone cat, you need to leave the bottom seam open. When you begin to sew, start at the base of the toes, sew up the front and around the ears, and then down the back. Use a dowel or wooden spoon to turn the cat inside out. Stuff the cat starting with the ears, face, neck, back arch, and then all the way down to the bottom of the cat's feet.
Now you need to make the chipboard base for the bottom of the cat. Before you glue the chipboard onto the oval fabric piece, you should test to make sure the oval will fit the bottom of the cat properly. Print out the pattern piece (or make your own) and cut out the chipboard.
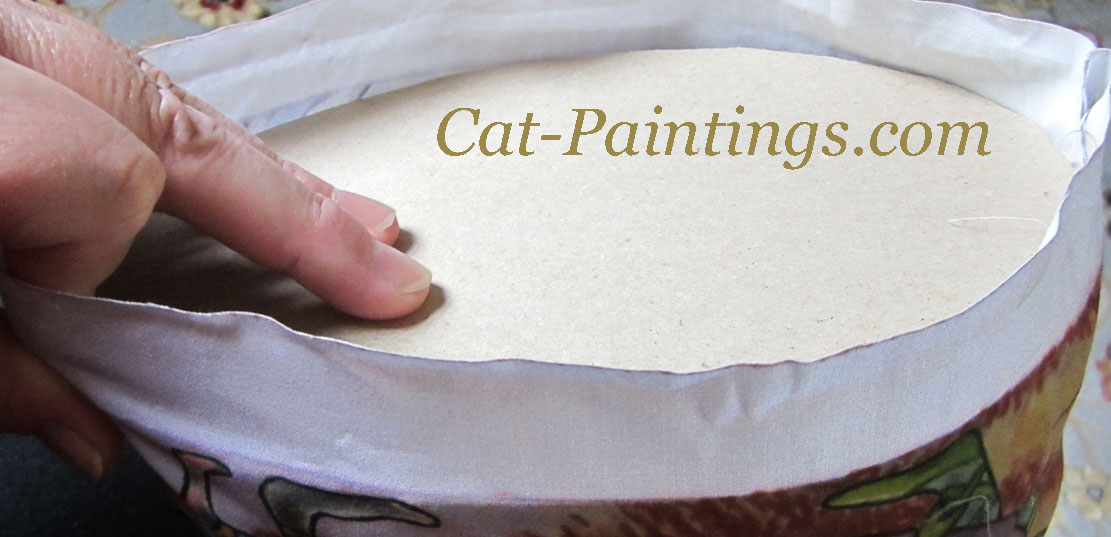
Slight seam allowances will affect how the oval fits, so you may need to adjust the size up or down. With the chipboard oval resting on the stuffing, you want it to fit, but not too tightly. When you glue the oval to the fabric, you will be adding a bit of thickness.
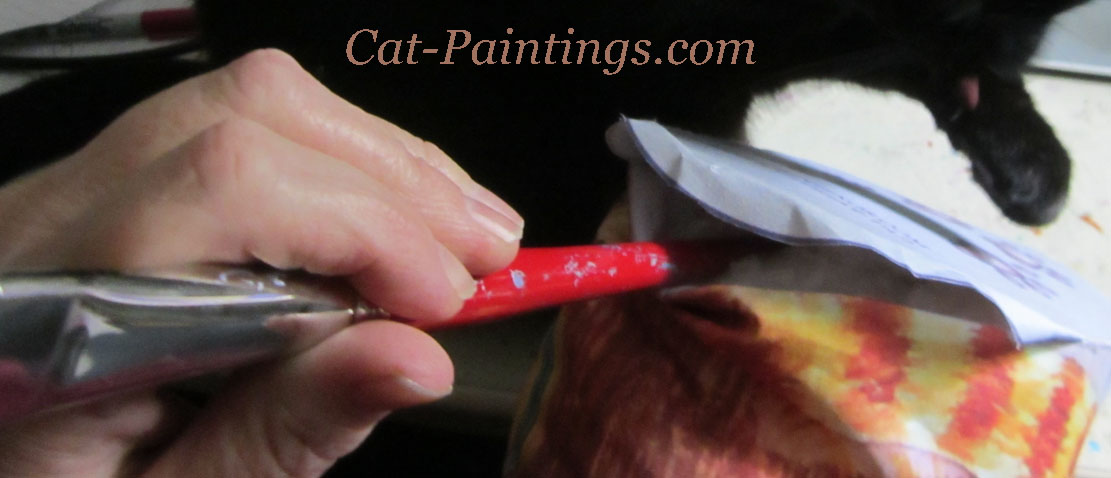
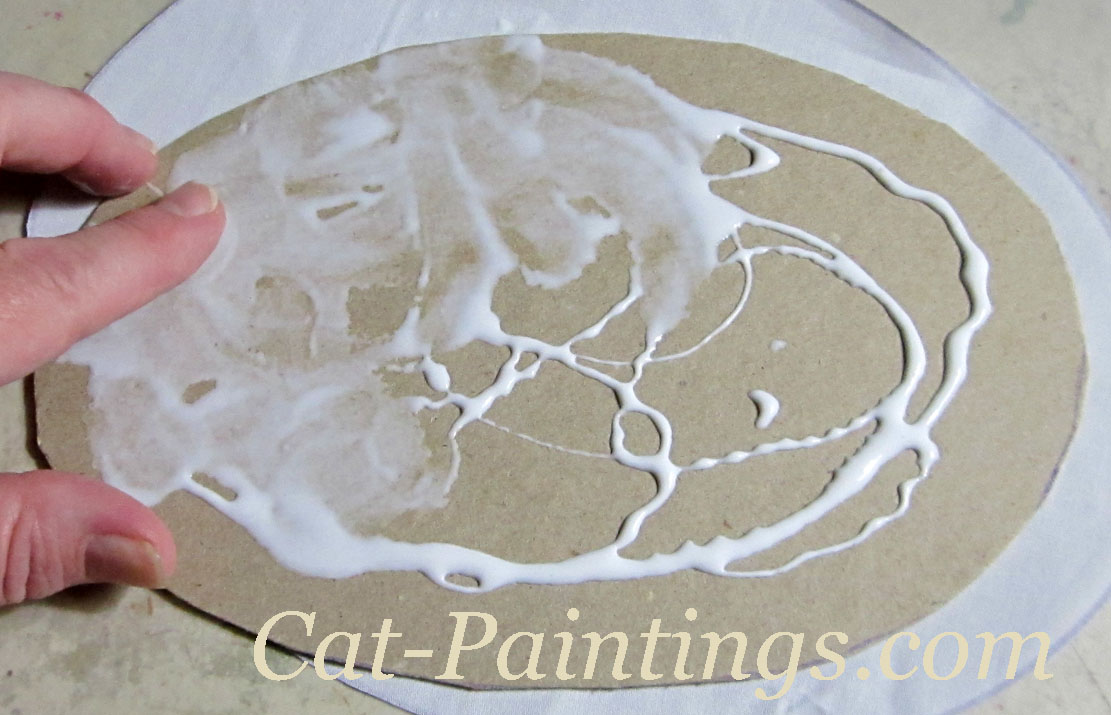 Spread glue to the edges of the chipboard oval.
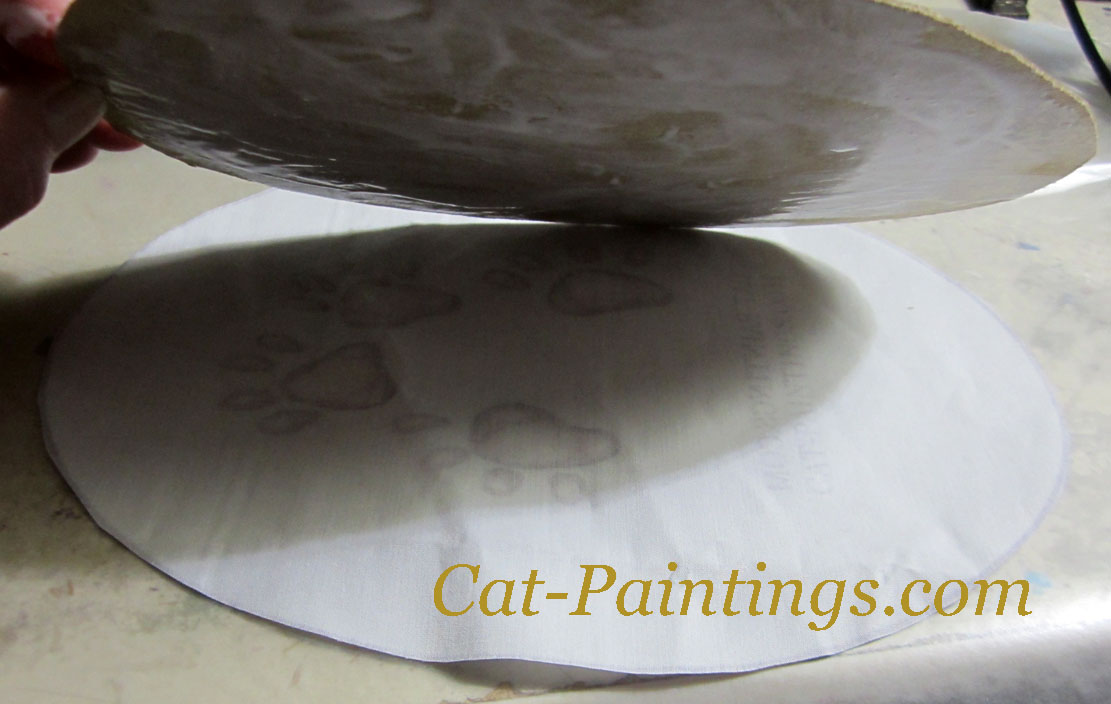 Flip the glue-side of the oval onto the wrong side of the fabric.
 Smooth the fabric flat over the glued oval. The fabric should extend all around the edges of the oval.
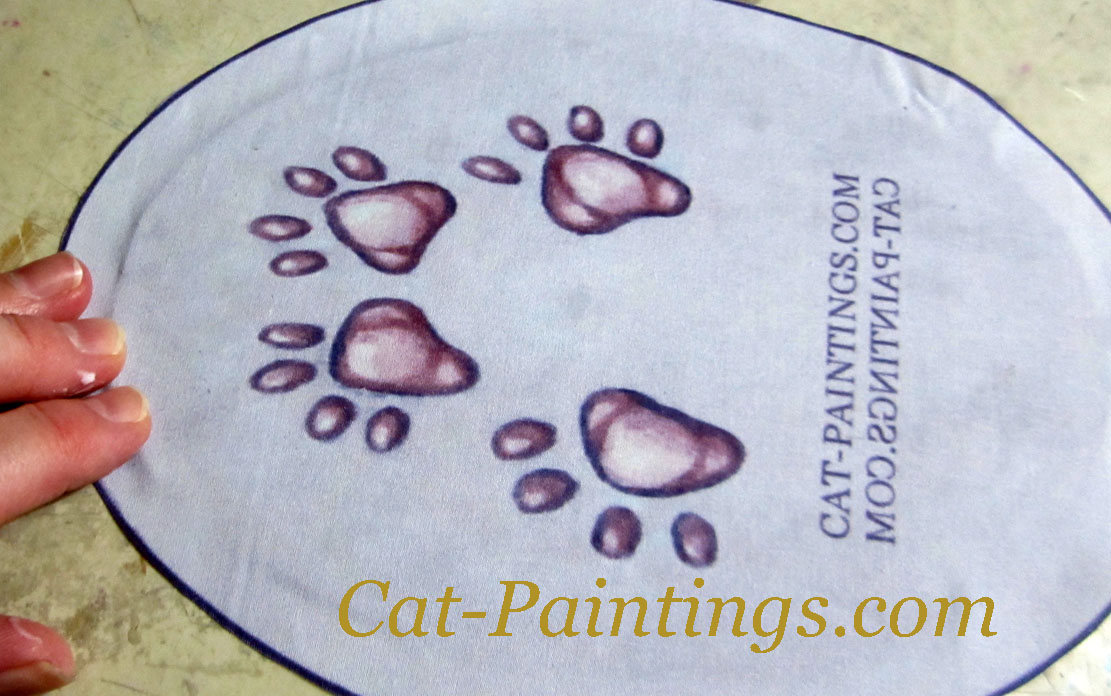
Let the bottom dry completely. If the chipboard starts to warp, place it between two sheets of wax paper and leave it to finish drying under the weight of a book.
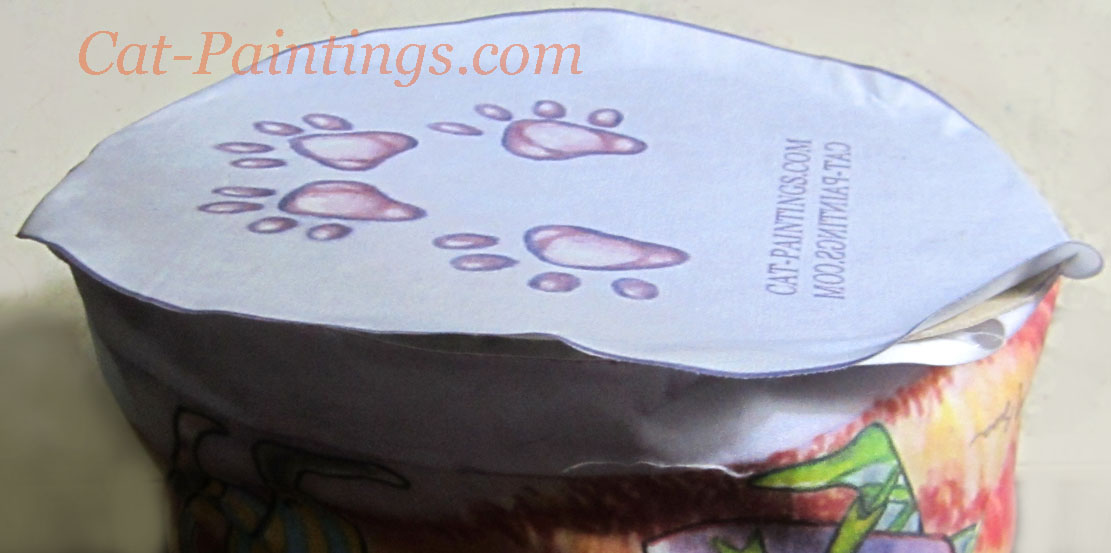 With the pillow upside-down, rest the dried oval on top of the stuffing. Fold down the seam allowance along the bottom.
Tuck the seam allowance around the chipboard oval down toward the stuffing.
With the pillow upside-down, rest the dried oval on top of the stuffing. Fold down the seam allowance along the bottom.
Tuck the seam allowance around the chipboard oval down toward the stuffing.
 Tack the oval into position in a few places to keep everything in place as you sew.
Starting midway around the bottom, sew overhand stitches. Make sure to catch the fabric of the bottom seam and of the oval with each stitch.
 Use a dowel to push the stuffing into the paws at the front of the pillow.
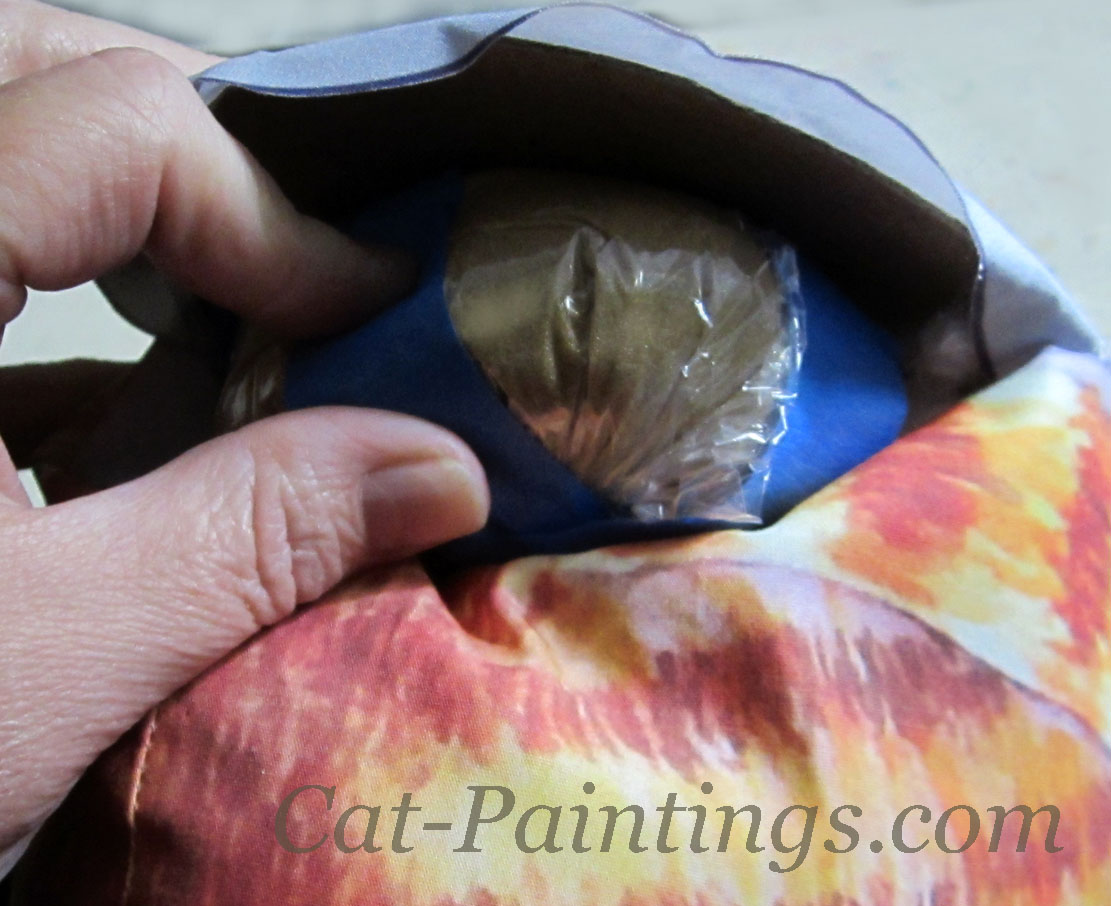
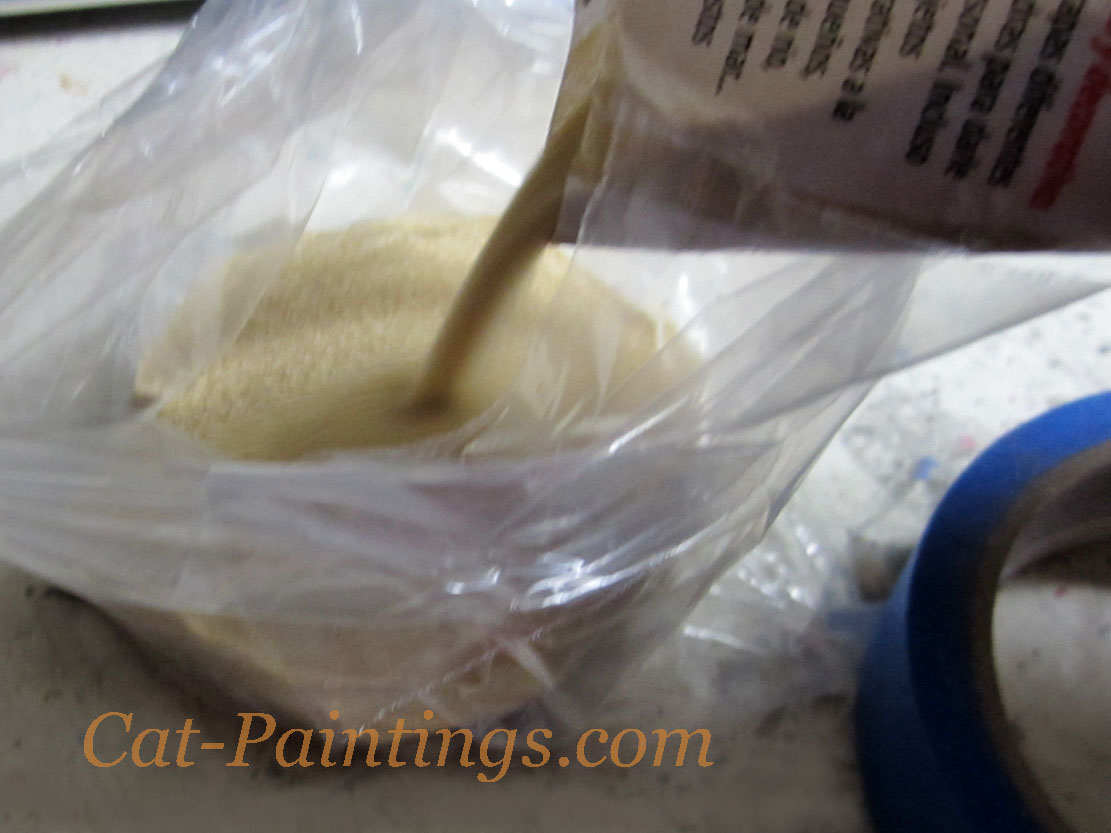 If you want add weight to your stand alone pillow so that it is more stable, or so that you can
use it as a doorstop, place craft sand inside with the stuffing. If you don't want to use the whole
bag, pour some into plastic baggy and wrap tape around it.
If you want add weight to your stand alone pillow so that it is more stable, or so that you can
use it as a doorstop, place craft sand inside with the stuffing. If you don't want to use the whole
bag, pour some into plastic baggy and wrap tape around it.
 After you put the craft sand bag in with the stuffing, add more stuffing so that the sand is centered.
Finish sewing around the bottom seam.
After you put the craft sand bag in with the stuffing, add more stuffing so that the sand is centered.
Finish sewing around the bottom seam.

Please note that all copyright and reproduction rights remain with the artist.
I have sold my paintings on Ebay for many years and I am proud to be an affiliate.


 Google+
 Facebook
 Pinterest